-

 Better BP®There’s a better way to capture BP—discover the keys to more accurate measurements.
 -

 Exam Room DesignBetter exam room designs help create better care experiences for patients and staff.
 -
 Medical Diagnostics Connected SolutionsThis is your go-to source for exploring, implementing, and supporting connected diagnostics.
 -

 Workflow OptimizationDesign a more efficient, effective healthcare experience.
 -

 Asset Tracking + ManagementEnsure that your caregivers readily have the assets they need while better controlling costs.
-
 Patient AccessibilityLearn more about the 2024 US Access Board Standards (MDE) and what makes the Midmark 631 + 626 compliant.
 -

 Patient + Staff SatisfactionSet the foundation for happier, more content patients and staff.
 -

 Patient + Staff SafetyCreate a safer healthcare environment for patients and staff.
Government Solutions
-

 Architectural ResourcesVisit our planning and design library for the architectural resources you need.
 -

 Design for the Point of CareLet us help you design a more efficient, effective healthcare experience.
 -

 Exam WorkflowsBetter care starts with a better exam workflow space. We can help.
 -

 Procedures WorkflowsResponding to patient demands while controlling costs requires greater efficiency in the procedures room workflow.
 -
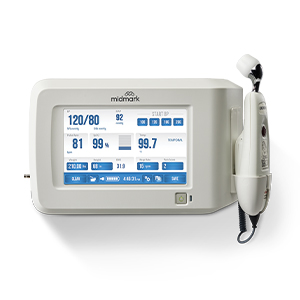
 Vital Signs WorkflowsEnhance caregiver-patient interaction and improve outcomes at the foundation.
 -
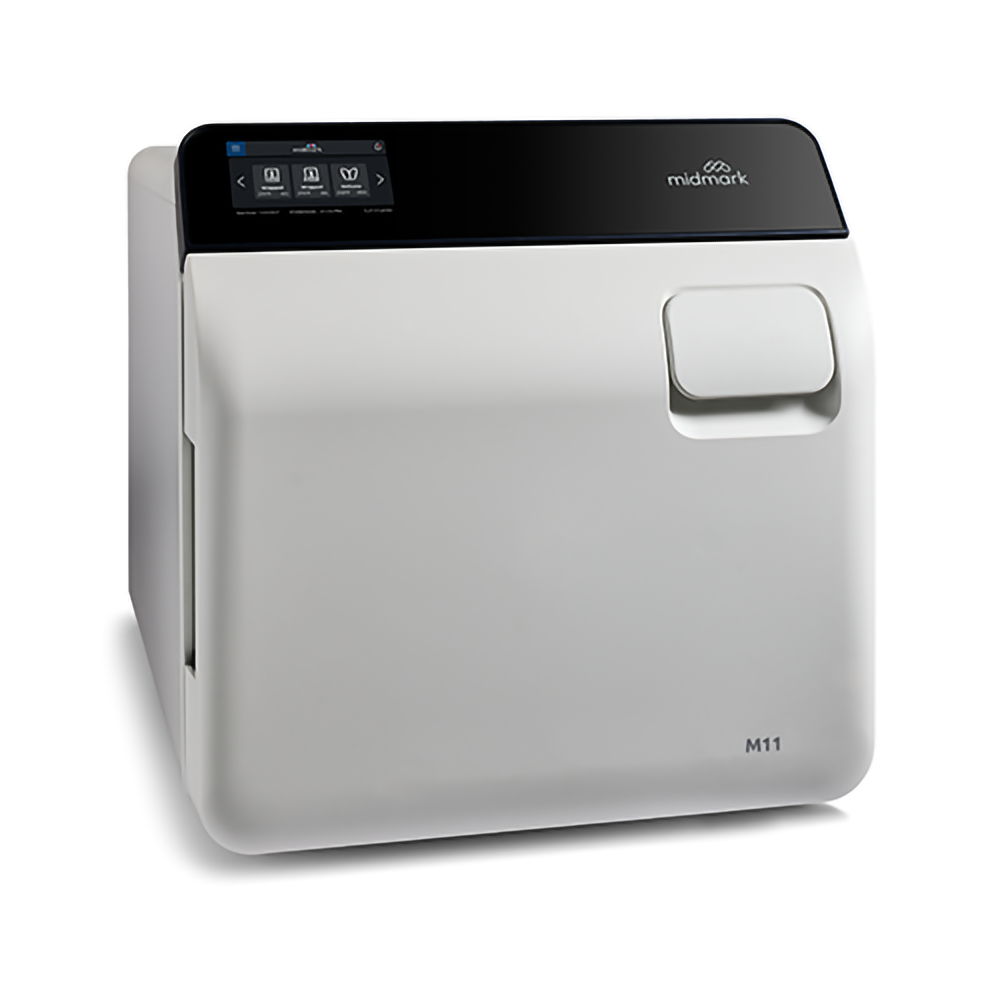
 Instrument Processing WorkflowStandardize the flow of instruments to reduce contamination and improve efficiency.
Synthesis® Cabinetry Catalog

Explore our digital catalog for available products and part numbers.
Learn more
Rethinking the Exam Room - AIA Credit
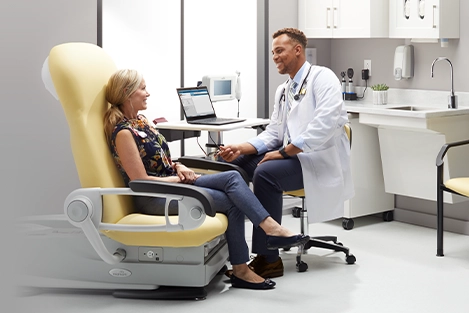
The course is delivered live by Midmark clinical design consultation experts. It provides healthcare architects and designers who are AIA members a high-level view of how proper exam room design can improve clinical workflow efficiency at the point of care.
Learn more
Featured Product
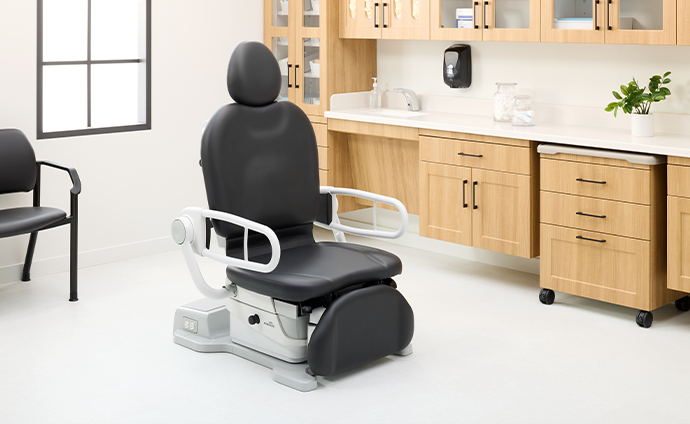
Midmark® 631 Procedure Chair
The right procedure room equipment can make a crucial difference in both patient outcomes and caregiver safety. Particularly for patients...
-

 InfographicsLet us show you the whole picture with real-world applications.
 -

 Published PerspectivesChange is a constant in healthcare – and we’re leading the way. Read our recent bylines and articles.
 -

 BlogLet’s talk about better care. Join the discussion today.
 -

 Medical Press ReleasesFind out what’s happening at Midmark. View the latest news about Midmark and the healthcare industry.
Education
Services
-

 Consulting ServicesLet us help you make data-driven decisions to improve patient flow and clinical processes.
 -
 Delivery + Installation ServicesMidmark Delivery Services will professionally manage your Midmark equipment shipping, delivery, staging and installation for maximum project success.
 -
 Product Repair + Service SolutionsExplore available support and services plans to help keep your medical equipment and devices operational.
Support
-

 Product Manuals (Technical Library)Visit our technical library for product manuals and more.
 -

 Shop Parts, Software + ServicesVisit The Online Parts Store for 24/7 ordering.
 -

 Technical Support | MedicalLet our dedicated technical service team help you find parts, documentation and more.
 -

 Customer ExperienceOur friendly support team is here to assist you every step of the way.






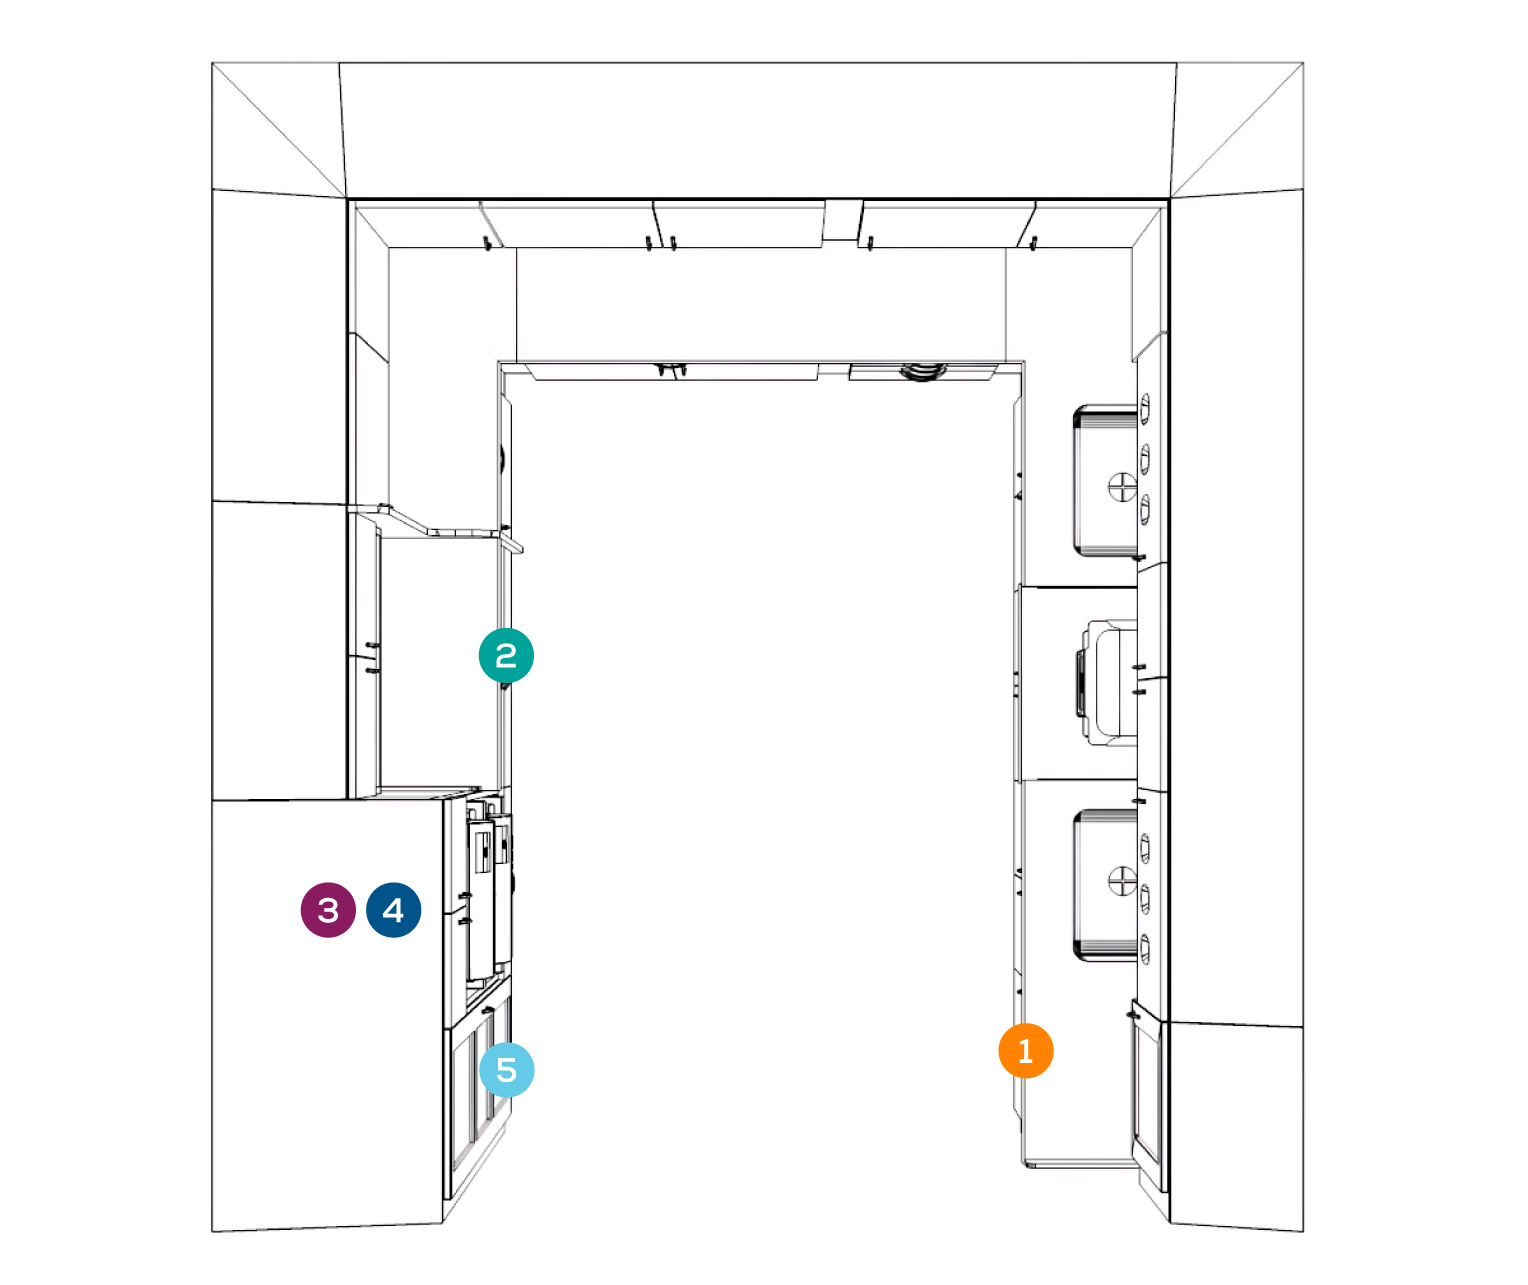
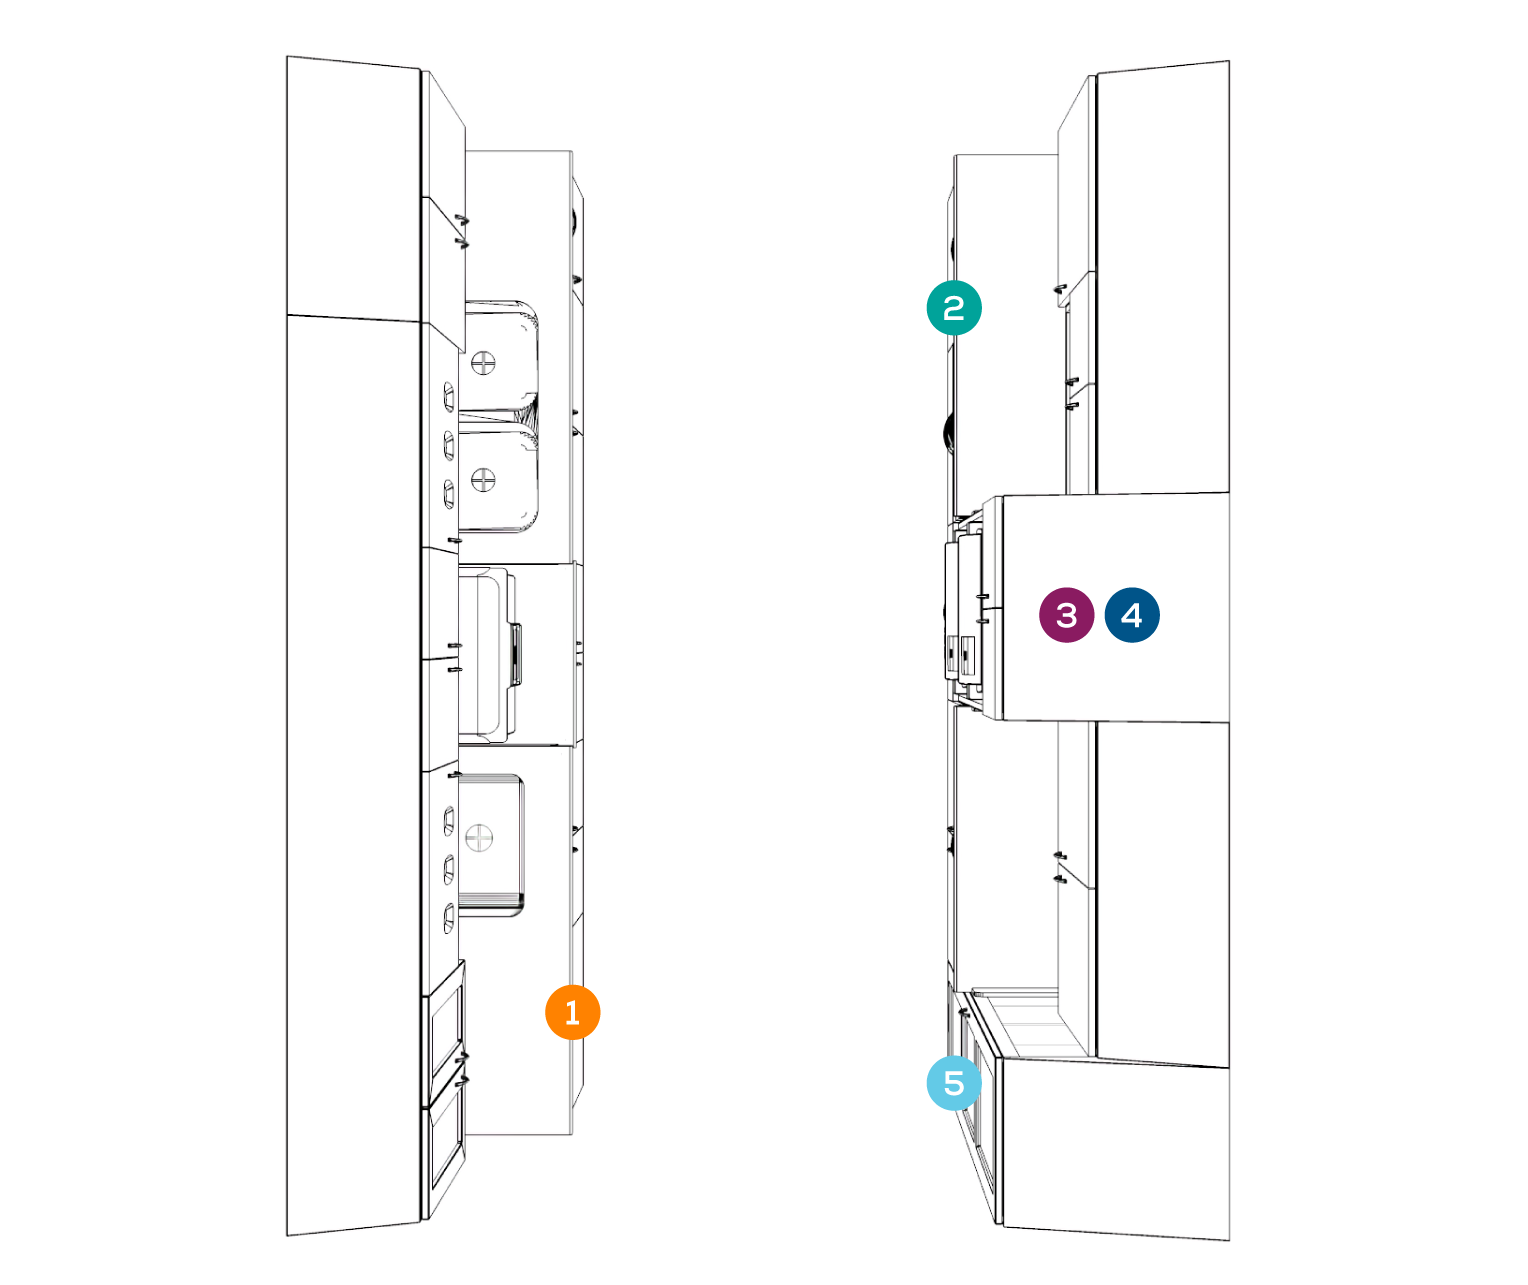
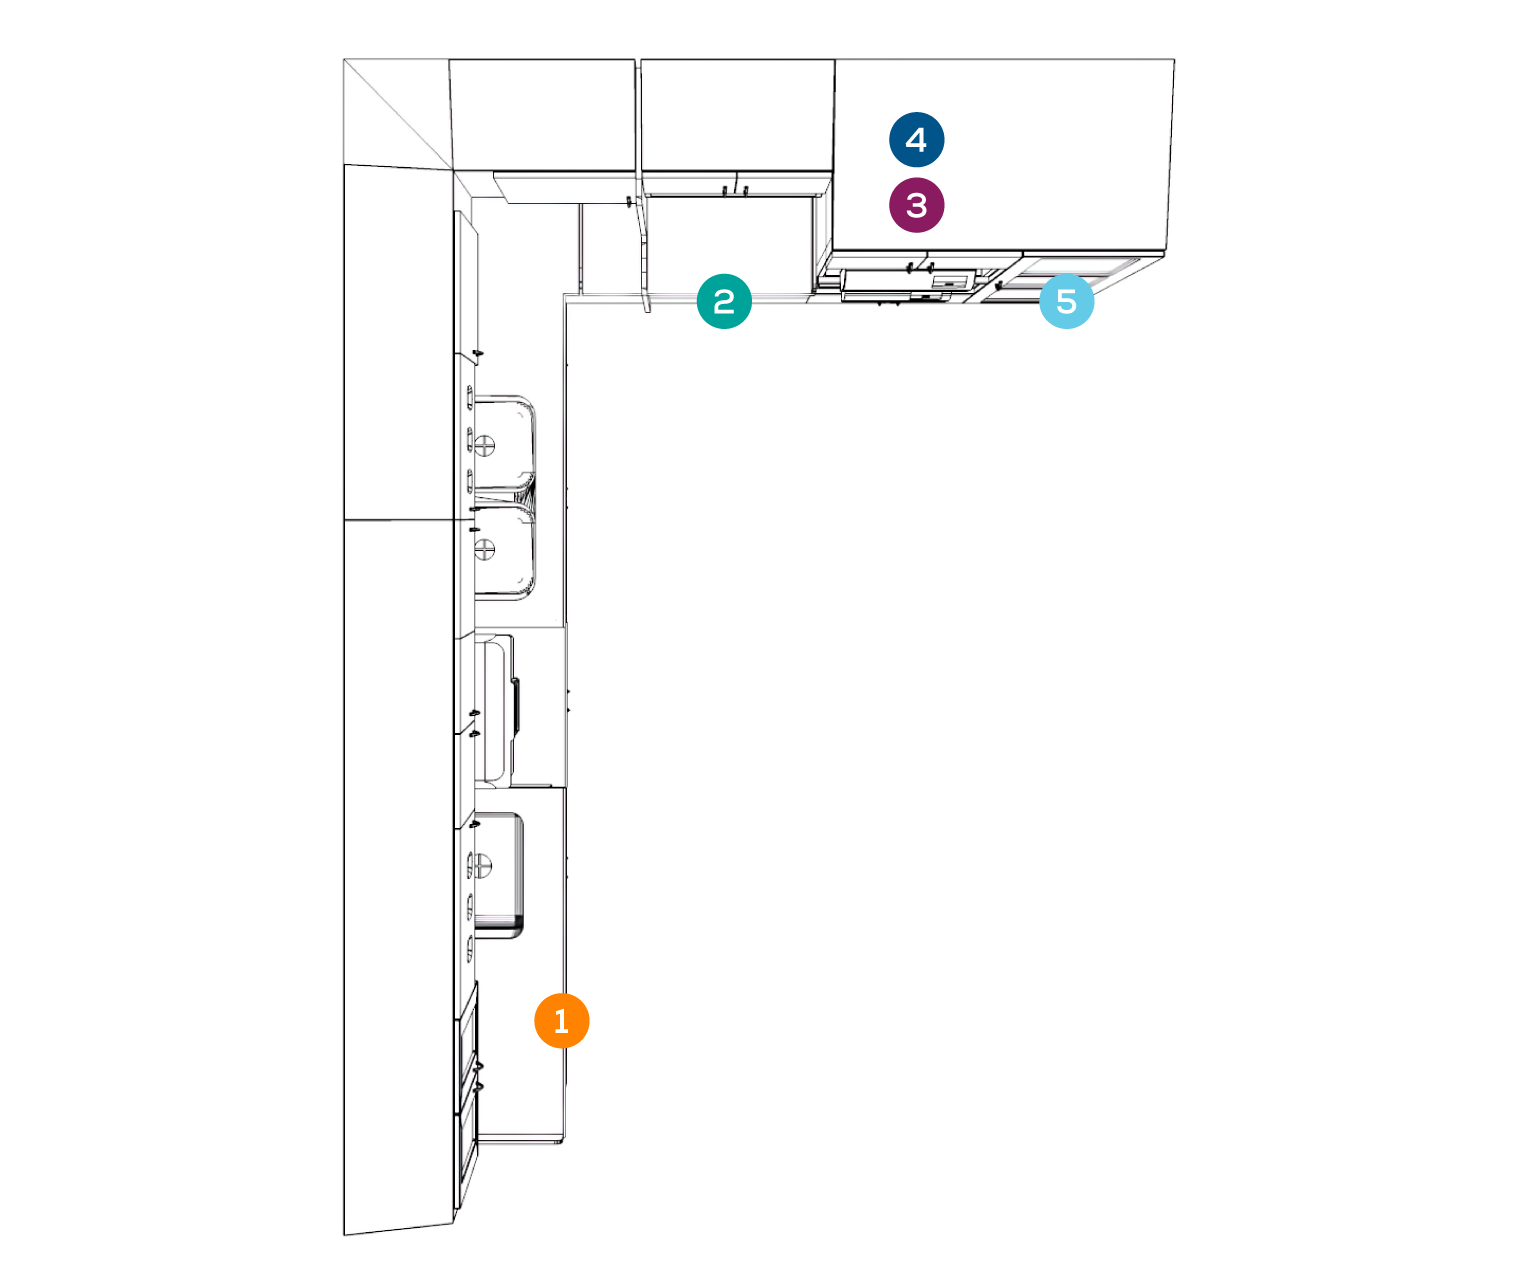
 RECEIVING + CLEANING
 PREPARATION + PACKAGING
 STERILIZATION
 MONITORING/STERILITY ASSURANCE
 STORAGE