-

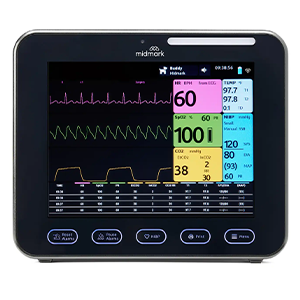
 Anesthesia + MonitoringBrowse our industry-leading solutions and let us help you provide a better experience for all patients and providers
 -

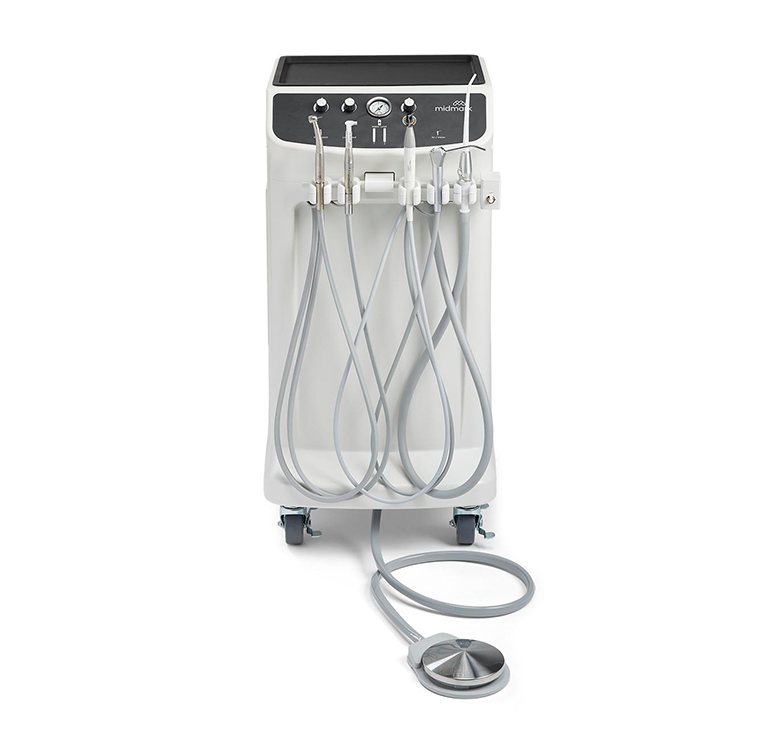
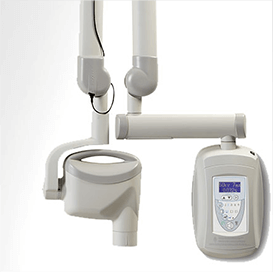
 Comprehensive Dentistry SolutionsAdding dental services to your animal health practice promotes overall patient health—and it’s good for business.
 -
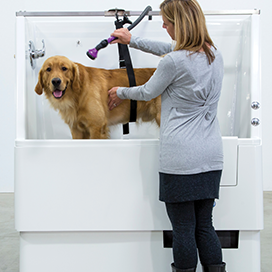
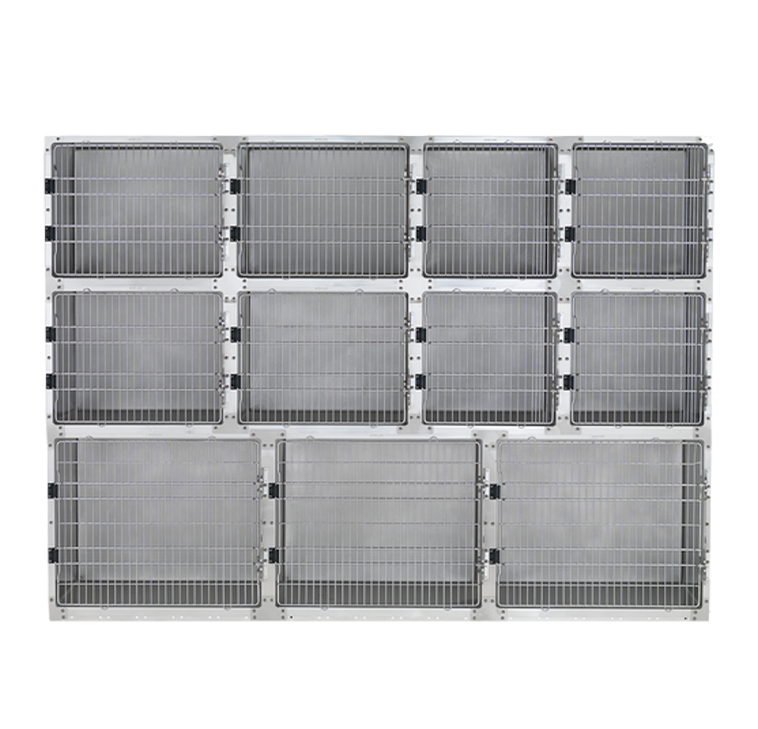 Animal Housing


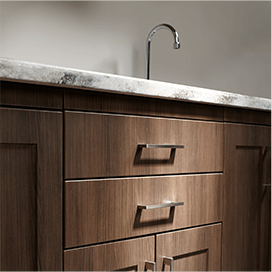
Building your dream clinic can be both exciting and scary. But you don’t have to do it alone. Let us help you design a space perfectly suited to you and your team.
Make Your Dream Clinic A Reality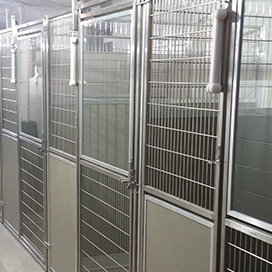


Explore parts and accessories for your veterinary products.
Shop Now2025 Dental Imaging Training + Install Program
2024-2025 Sterilizer Maintenance Kit Promotion
Education


Services
Support
-
 Product Manuals (Technical Library)
 -

 Shop Parts, Software + ServicesVisit The Online Parts Store for 24/7 ordering.
 -

 Animal Health Technical SupportLet our dedicated technical service team help you find parts, documentation and more.
 -

 Customer ExperienceOur friendly support team is here to assist you every step of the way.